
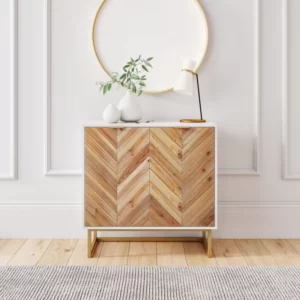
Here’s the before. I didn’t like the hollow sound of the top so I added a DIY board. Still thought it looked boring. I love the look of wood and wanted to incorporate more. The herringbone pattern is a way to add some simple detail to a wood front. Below is the inspiration for this project.
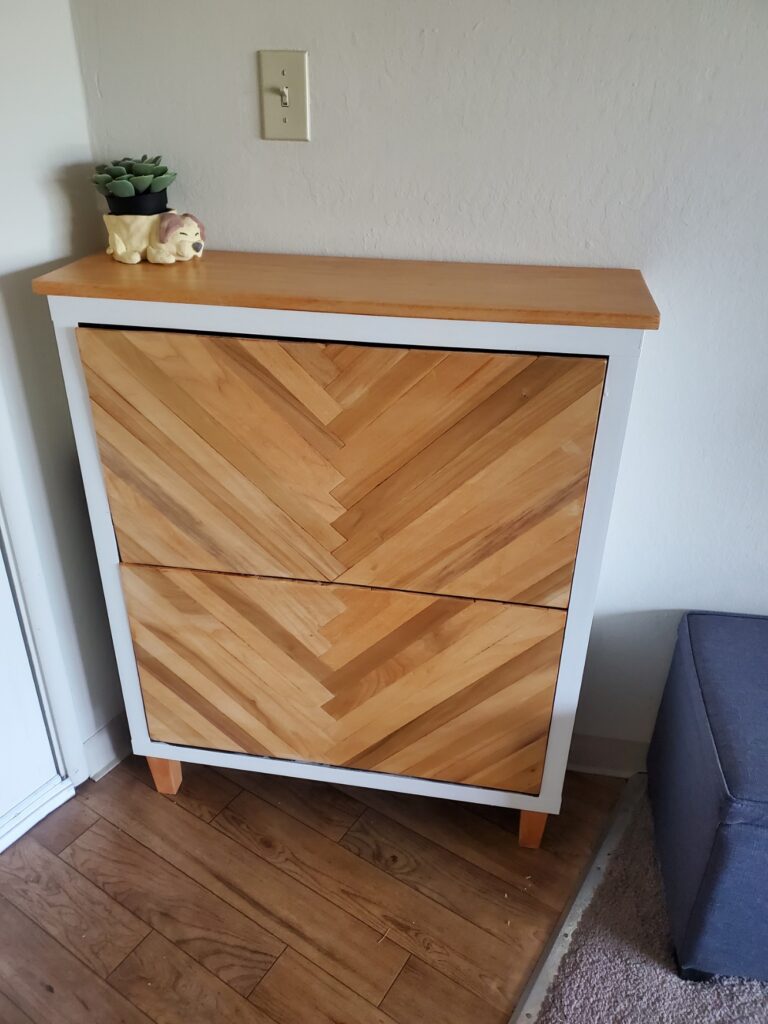
And here is the completed changes.
I thought the black would have been “elegant” and not blend in like white but I didn’t end up liking the dark look. I went to home depot’s “designer” collection and got the “blank canvas” white.
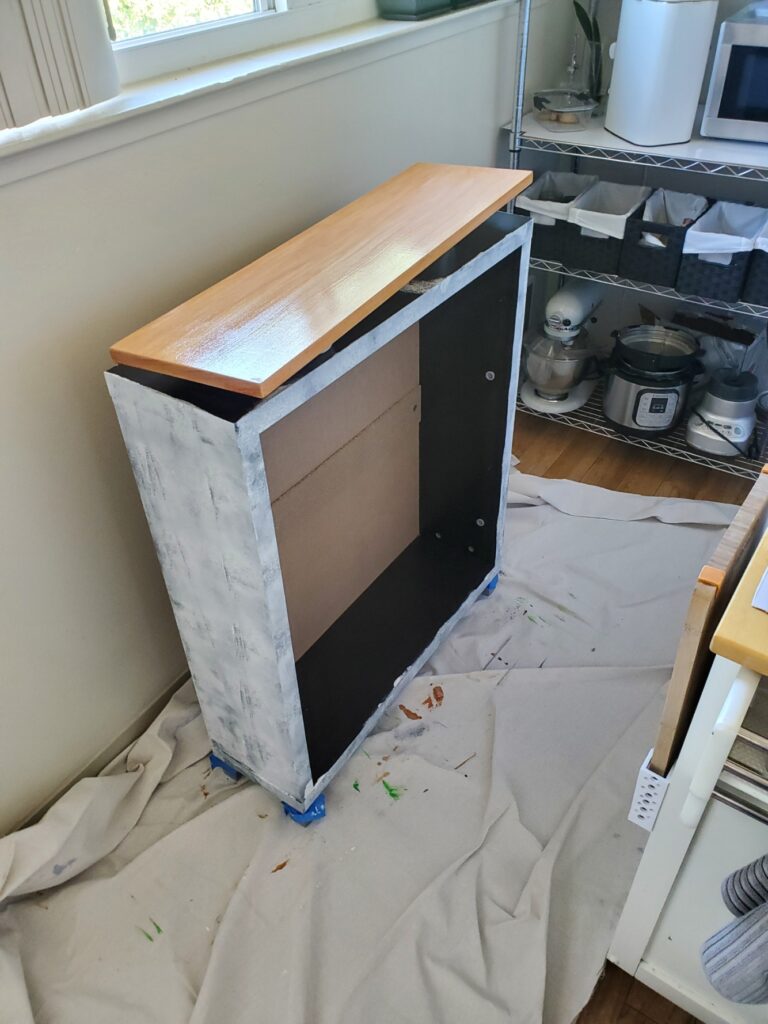
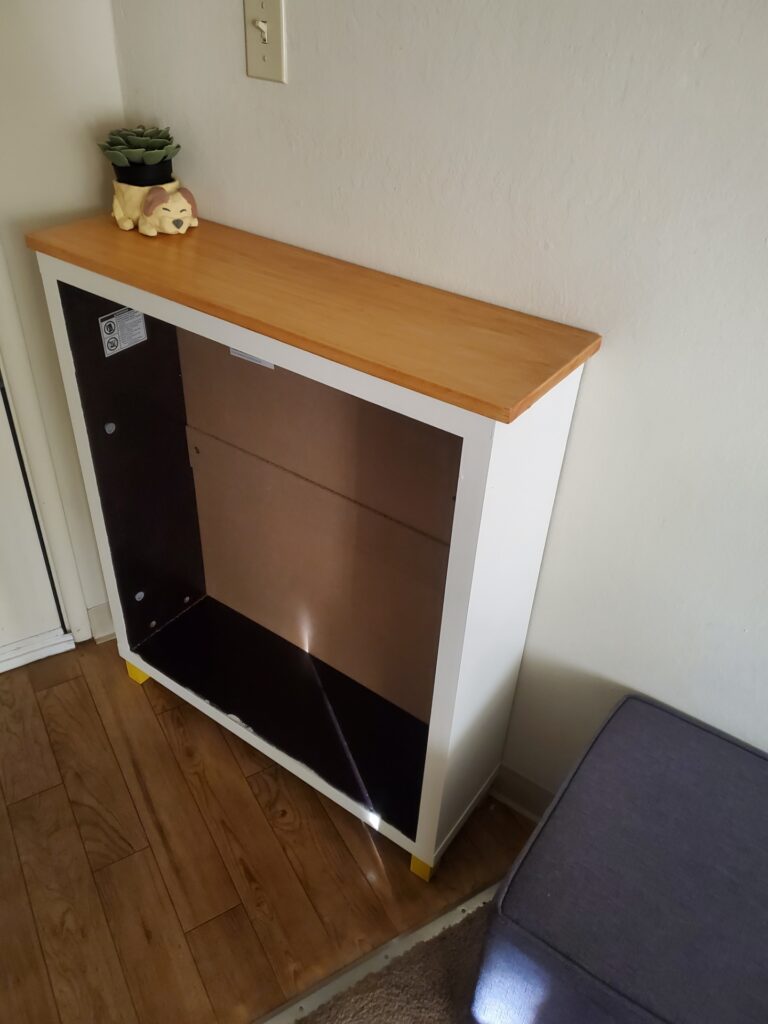
Now onto the fronts. I bought some poplar hobby boards and started cutting a gluing layer by layer.

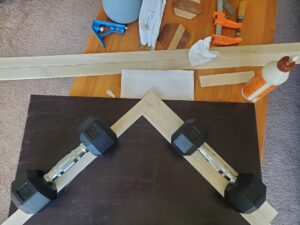
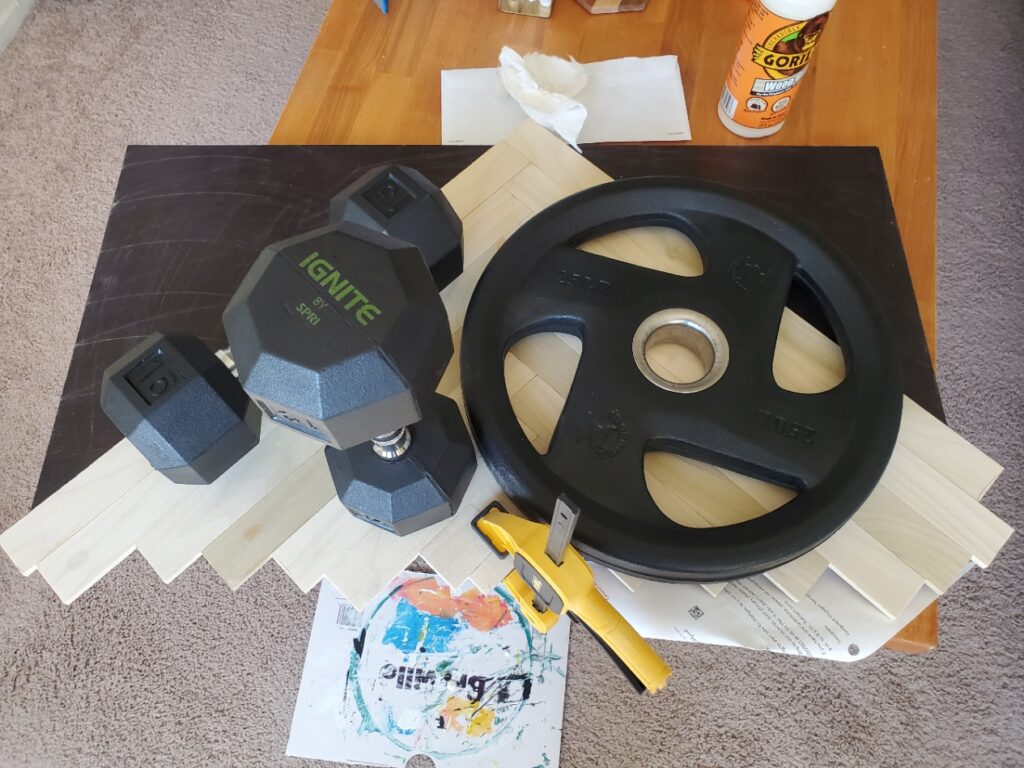

Cut 2 of the ends a bit too short so I did some hacking to get a scrap piece in and glued. Can’t really see it in the final product.
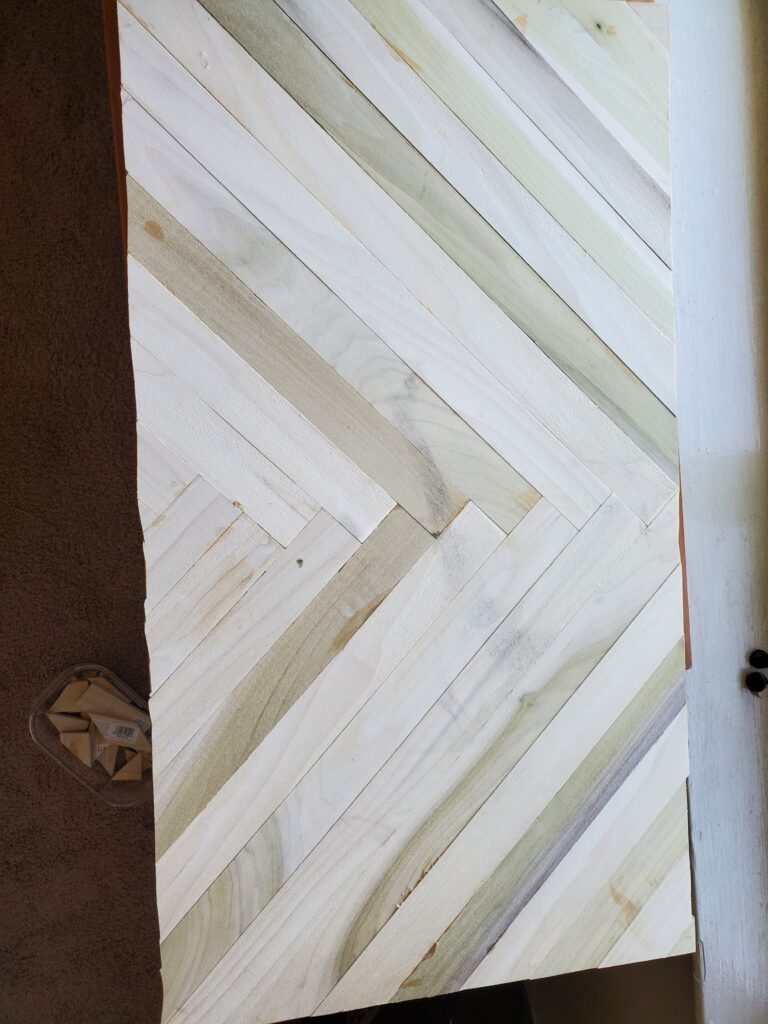
Glued together and cut the ends to size. Now to do all of that over again. For the second time I was smarted and cut them 45 degree angled rather than 90. This cut the sawing by a lot.
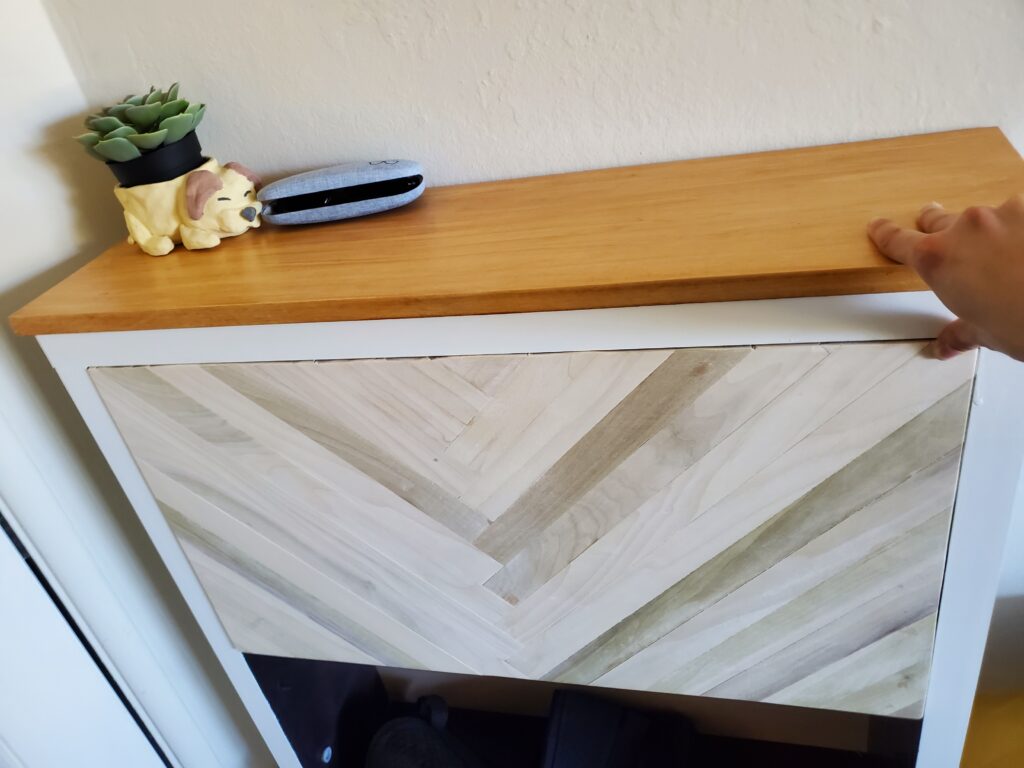
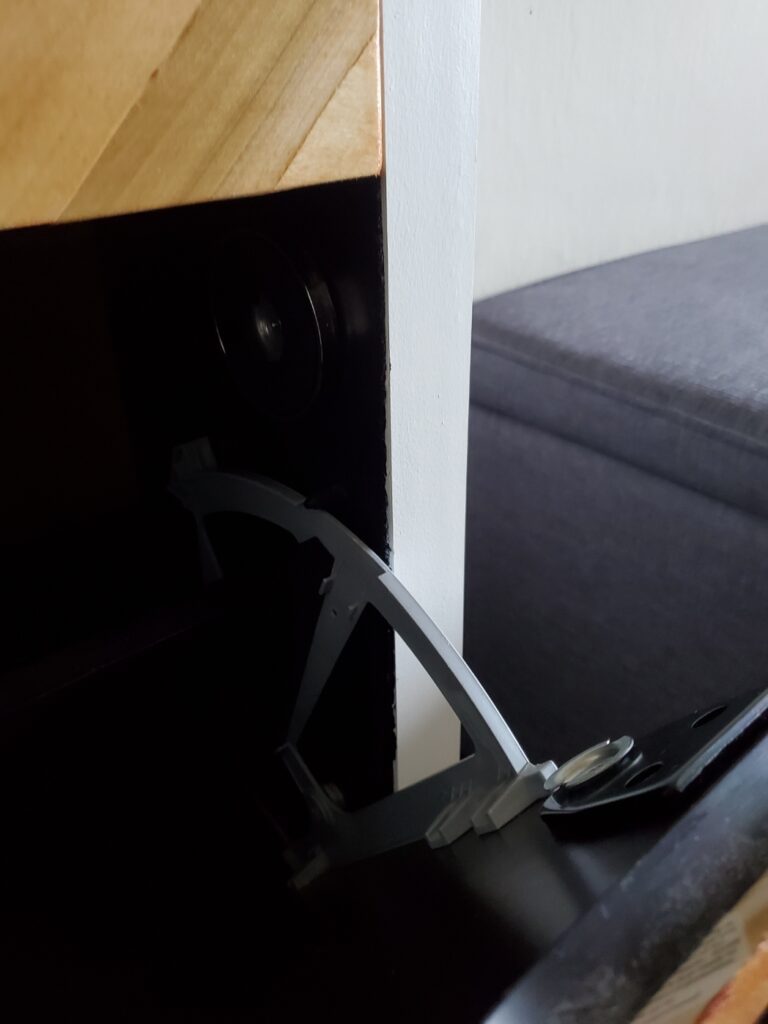
Test fitting. It does fit and the extra wood out front doesn’t poke out much. However a major problem was it is heavier and doesn’t stay closed.
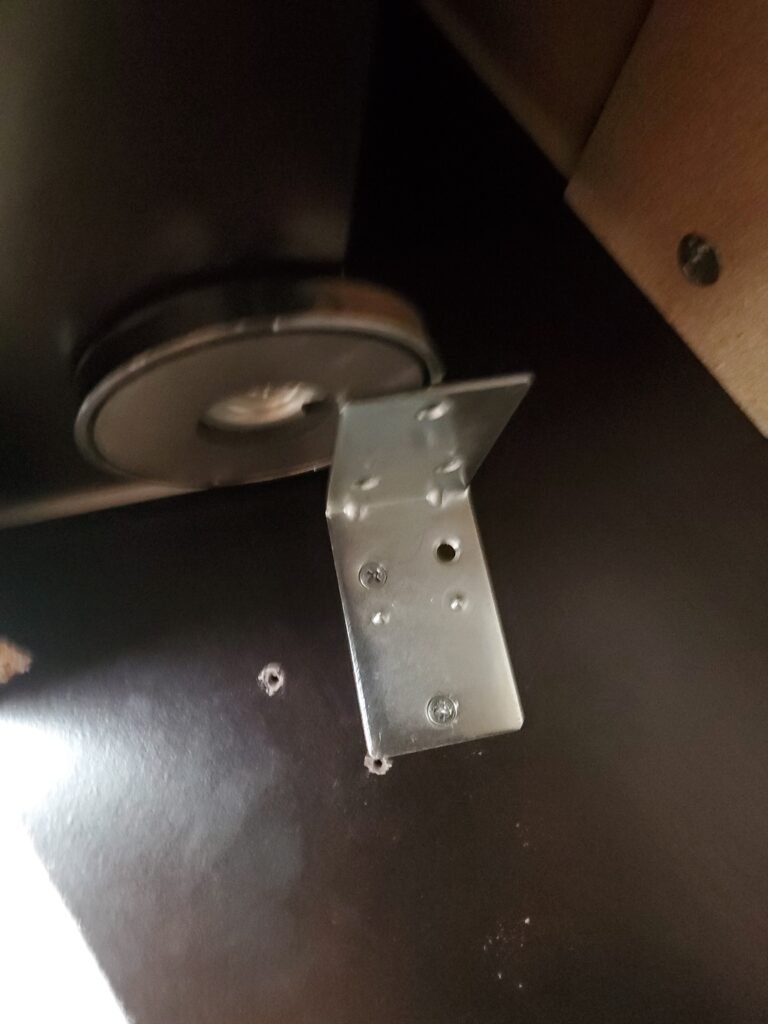
I remembered that most cabinets use magnets to close. So I bought a way too strong magnet and installed it on the bottom with an L-bracket mounted on the side. It does work. But only for the top shelf. When installing the bottom one I had a better idea to place a bit of medal on corner and have the magnet mounted on the side.
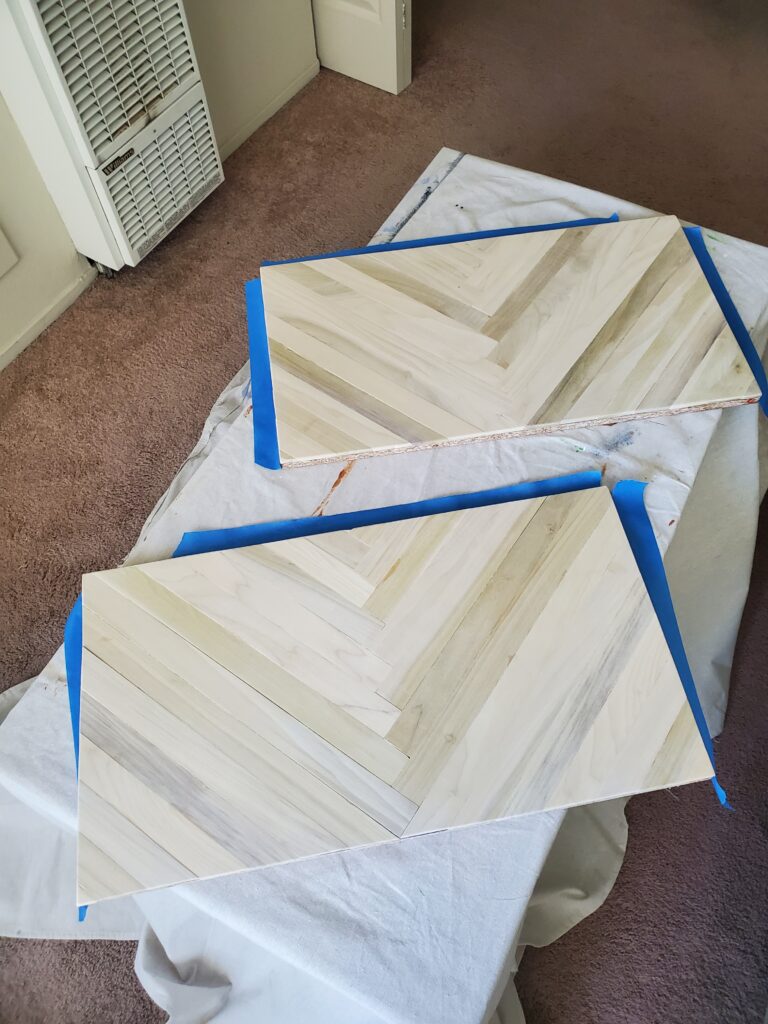
Setup for staining after a lot of time sanding.

Stained and a gloss polycrylic.

I bought some wood table legs and stained them too. Look much better than the cheap plastic. Overall I’m happy with how it turned out. With the confident from doing this I’m going to do the same to my dresser.